

The Battle of Stirling Bridge
11th September 1297
Battle Background
William Wallace and Andrew de Moray controlled most of northern Scotland by the summer of 1297. Edward I ordered John de Warren to take an army into Scotland and reclaim the territory lost to the rebels.
Medieval Stirling was the “Gateway to the Highlands” and provided the only safe crossing point into the north of Scotland. This was via a narrow wooden bridge. Horsemen could cross only two abreast. It would take considerable time for most of the English to cross the bridge.
Wallace and Moray positioned their forces on the north bank of the River Forth. The English army assembled to the south, using Stirling Castle as a base.
It is difficult to determine exactly how many men fought on both sides, but it is likely the English army outnumbered the Scots. The English army was also more experienced – they were likely feeling confident that this would be nothing but a routine victory.
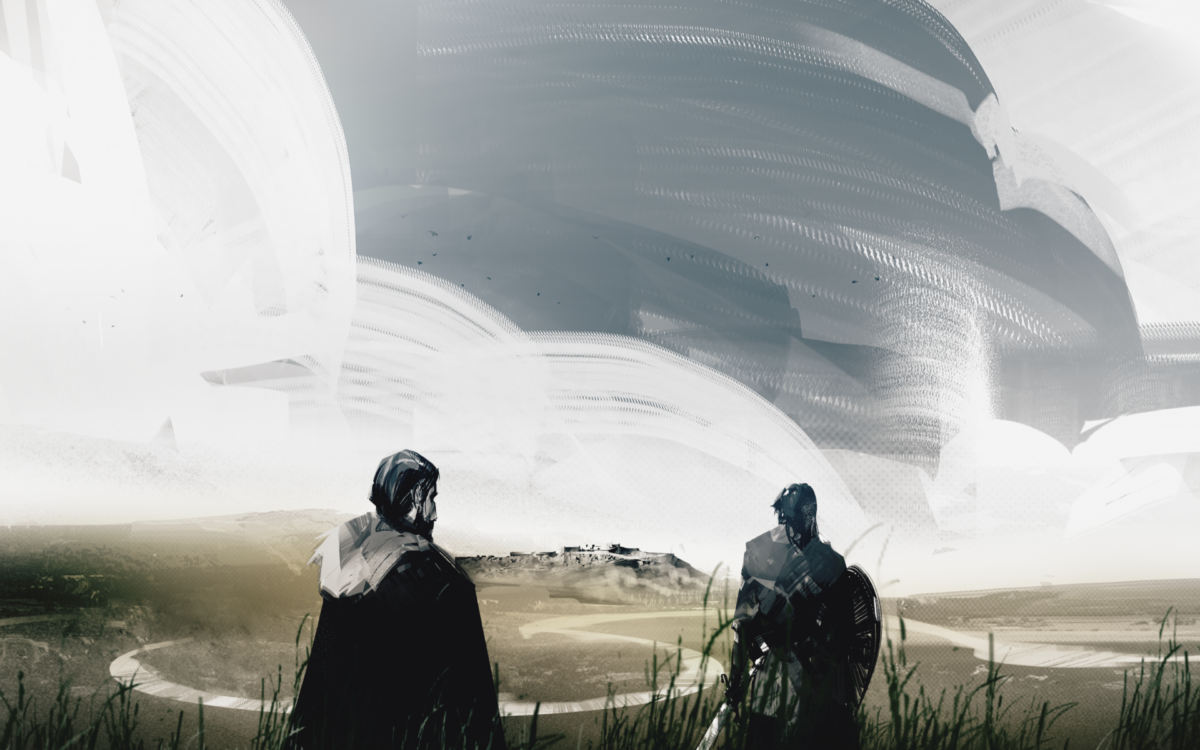
The English begin to cross
According to legend it took the English army three attempts to cross the bridge. The first time they were apparently called back as John de Warenne had overslept. The second time Warenne had received incorrect information that the Scots wanted to negotiate terms.
On the third attempt the English soldiers began to cross the bridge properly, signalling the start of the battle.
The Vanguard advanced first, led by Hugh de Cressingham. This contained mounted cavalry commanded by Sir Marmaduke de Thweng. Behind the cavalry will have been groups of spearmen and archers on foot (infantry) followed by further units of cavalry and infantry. Not all of these units will have made it across the bridge.
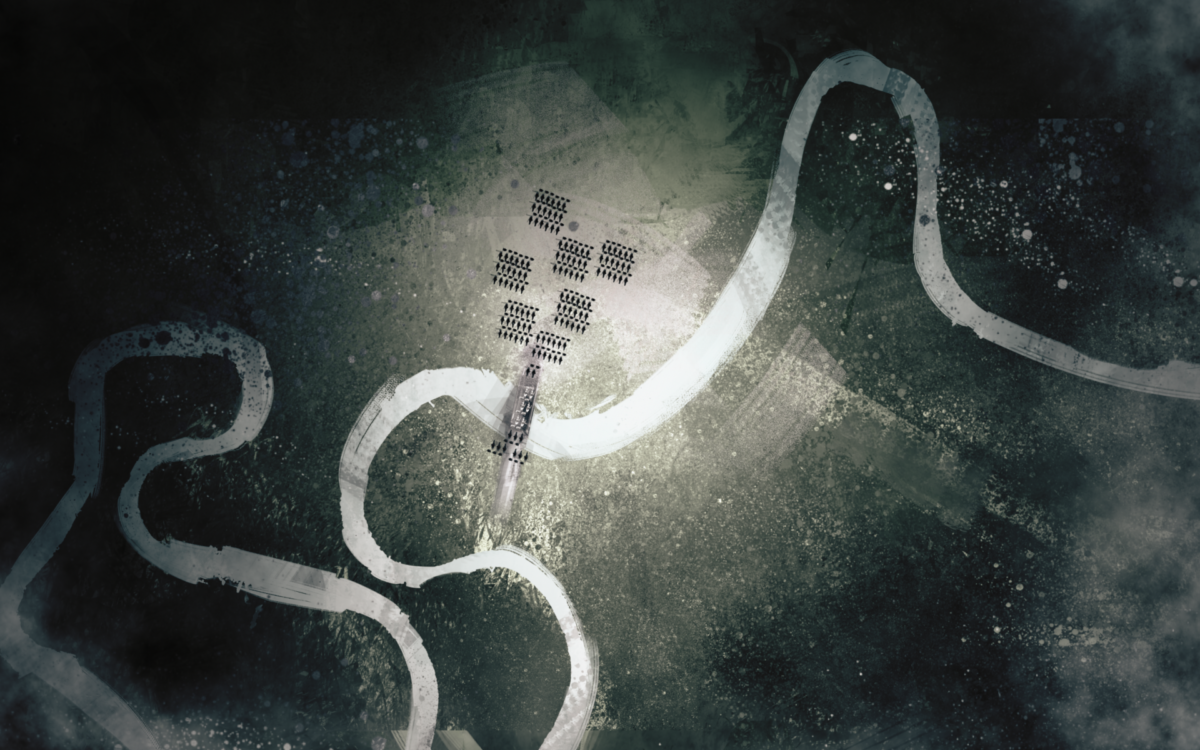
Wallace and Moray spring their trap
Wallace and Moray’s men were armed with long spears and formed a schiltron. These are tightly packed with the spears pointed outward like a hedgehog. The schiltron creates an impenetrable object.
As soon as the English soldiers crossed the bridge they were trapped on three sides by the loop of the river. The Scottish schiltron advanced and blocked the escape route north.

The Scots are victorious
The English soldiers, now trapped, were outnumbered. Some attempted to retreat on foot across the Forth. The river is wide with deep muddy banks and the water rising. Many men and horses drown.
At some point the wooden bridge collapsed. Legend tells that the Scots sabotaged the bridge to prevent the English retreat, however there is no evidence that the bridge was deliberately destroyed.
The group of horsemen led by Marmaduke de Thweng managed to force their way around the Scottish troops and flee to safety.
The English forces unable to cross the bridge watched on in horror as their men are slaughtered. Eventually the survivors retreat to Berwick.

After the battle
Andrew de Moray was mortally injured and died of his wounds. His date of death is unknown, but he is presumed dead by November 1297.
William Wallace was knighted and became Guardian of Scotland. He began to issue correspondence to other countries declaring Scotland’s independent status, seeking friendship, and offering trade. One of these letters survives: The Lübeck Letter. This letter is in the name of both Andrew de Moray and William Wallace, suggesting that Moray may still have been alive in October 1297. Another interpretation is that Wallace recognised the valuable contribution of his comrade and wished to continue to honour him.
Edward I was not present at the Battle of Stirling Bridge. He was furious at the loss and planned to retaliate. Edward personally led the next invasion of Scotland in 1298.
Weapons used at the battle
All men between the ages of 16 and 60 were expected to defend the realm for their king. Those noblemen who had been granted property by the king were expected to provide a set number of days of military service per year. Depending on social status, men were expected to arm themselves to a certain standard.
- Noblemen/Knights (men-at-arms): weapons and horses, they would become mounted cavalry.
- Men who owned goods worth £40: spear, padded jacket, helmet, and armoured goods.
- The poorest: a spear in times of war.


